
Quickstart#
In the next few minutes you’ll start a server, give it an instrument, and talk to that instrument from a separate Python session. All you need is a working installation. No hardware required: we’ll use a dummy instrument that ships with the package.
Start the server#
In a terminal (with your instrumentserver environment active), run:
instrumentserver
A window opens: this is the Server, the process that will own all your instruments. It’s empty for now, and it’s listening for clients.
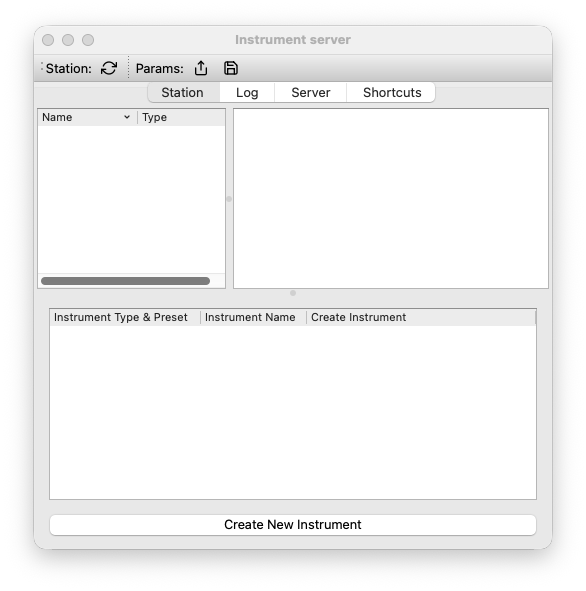
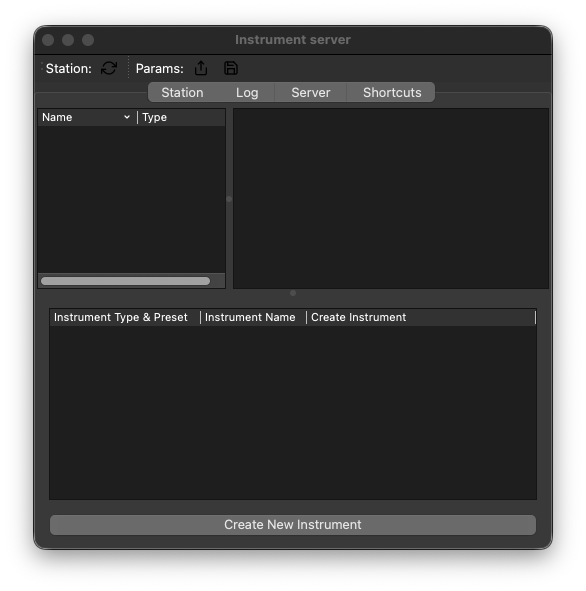
Leave it running. Everything else in this guide happens from a second terminal, a notebook, or wherever you like to run Python.
Connect a client and create an instrument#
In Python, create a Client. With no arguments it connects to a server on your own machine, which is exactly where the server is running:
from instrumentserver.client import Client

cli = Client()
The server is still empty, so let’s give it an instrument. We’ll use the dummy RF generator that ships with the package:
generator = cli.find_or_create_instrument(
    "generator",
    "instrumentserver.testing.dummy_instruments.rf.Generator",
)
Here’s what just happened: the client asked the Server for an instrument named
"generator". There wasn’t one, so the Server created it from the import path you
gave, inside the server process. (If you’ve used QCoDeS, the name is no accident: this
is the same idea as qcodes’
find_or_create_instrument,
except the instrument ends up in the Server, not in your own process.)
What you get back is a Proxy Instrument. When it’s created, the client asks the Server
what the instrument looks like (its parameters and methods) and builds a local object
with that same interface. So generator has everything the real driver has, and using
it forwards each call to the real instrument in the Server:
list(generator.parameters)
# ['IDN', 'frequency', 'power', 'rf_on']
The new instrument also shows up in the server window the moment it’s created:
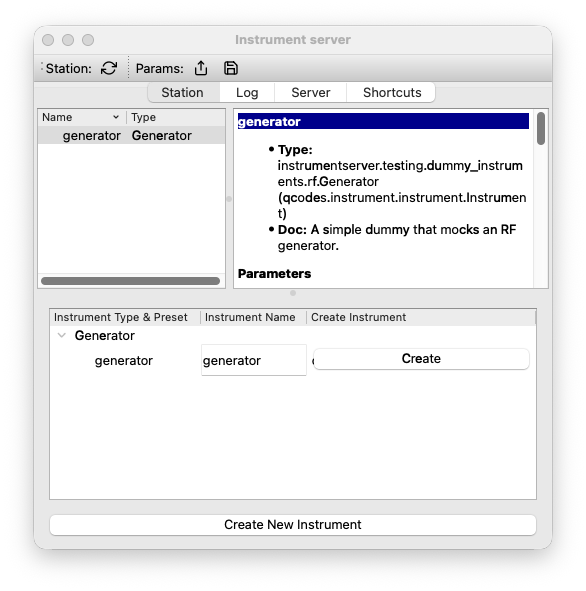
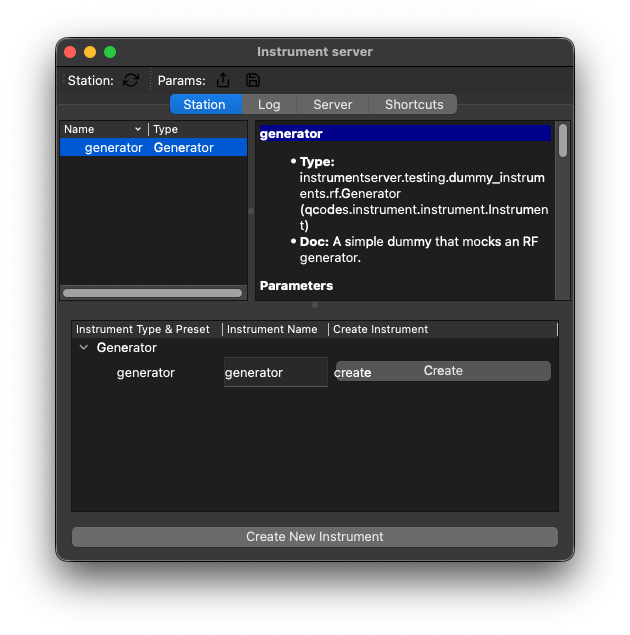
Because it’s find or create, the same line is safe to run again: anyone who asks for
"generator" later, from this session or any other, gets a Proxy Instrument for the
one that already exists. That’s the heart of instrumentserver: one process owns the
instrument, everyone else shares it.
Open the instrument’s window#
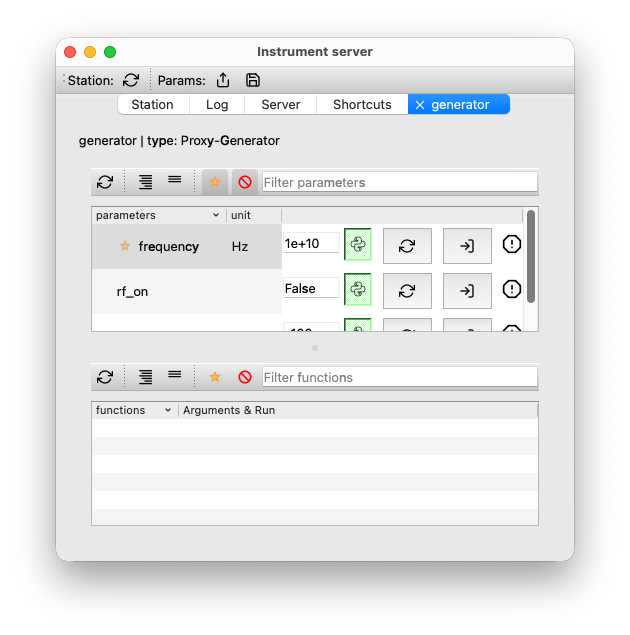
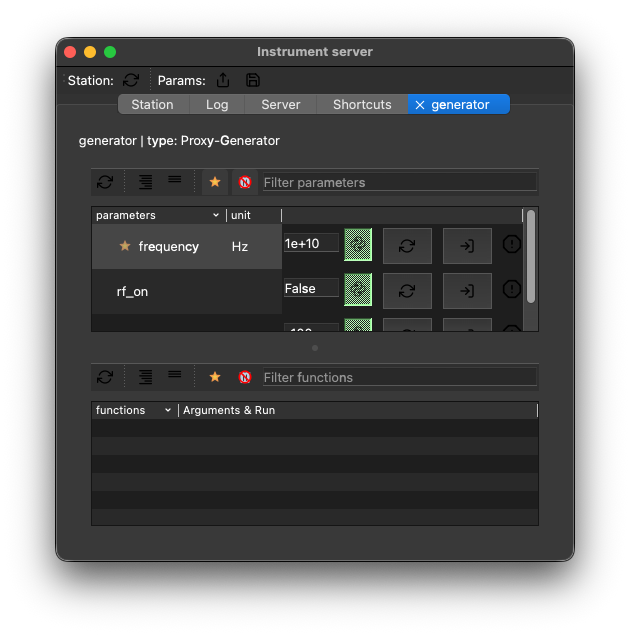
The server window lists every instrument the Server owns. Double-click generator
and a window for the instrument opens, showing all of its parameters.
Keep it open: it’s about to prove a point.
Get and set a parameter#
Parameters work exactly like they do in QCoDeS: call with no arguments to get, call with a value to set.
generator.frequency()
# 10000000000.0

generator.frequency(5e9)
generator.frequency()
# 5000000000.0
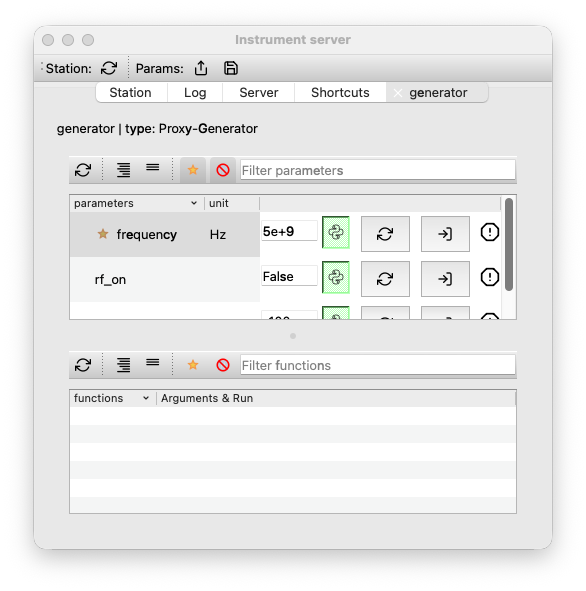
Remember, the proxy forwards everything: both the get and the set were executed by the real instrument inside the Server. If this were a physical generator, its output would now actually be at 5 GHz.
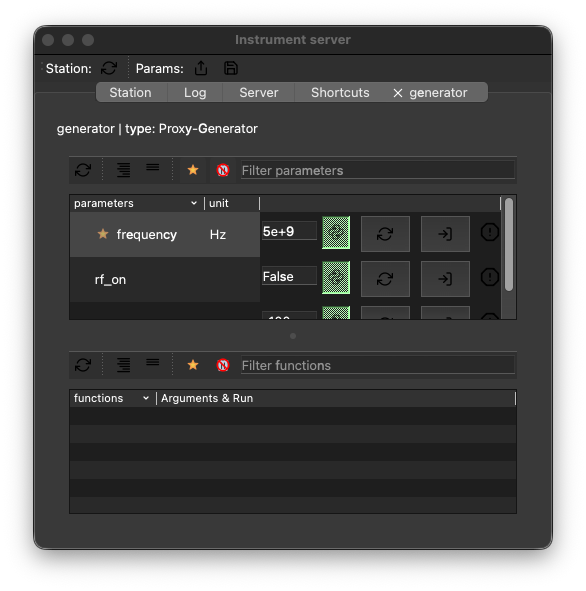
Now look at the generator window you left open: the frequency already shows the new value. No refresh needed. Whenever anything changes on the Server, it announces the change as a Broadcast, and every GUI subscribes and updates the moment it hears one. You’ll meet Broadcasts properly in How it works.
It works the other way too: edit a parameter in the generator window and your next
generator.frequency() in Python returns what you typed. Same instrument, any number
of views.
Starting with a config file#
Creating instruments from a client is handy for experimenting, but a real setup
shouldn’t depend on someone re-running creation calls after every restart. The same
setup can be declared in a config file. Save this as serverConfig.yml:
instruments:
  generator:
    type: instrumentserver.testing.dummy_instruments.rf.Generator
    initialize: True
Stop the server you started earlier (close its window) and start a new one with the config:
instrumentserver -c serverConfig.yml
The generator exists the moment the window appears, no client calls needed. Every client that connects finds it ready to use.
Note
Instruments aren’t limited to the generic parameter list you’ve seen so far. An
instrument can bring its own custom GUI, a purpose-built widget that the server window
shows in its place, to enable richer workflows than reading and setting parameters one
at a time. You wire one up with a gui entry in the config. See
GUI features for how it works.
This single entry only scratches the surface of what the config file controls; the configuration guide covers all of it.
Where to go next#
You’ve seen the whole loop: a Server owning instruments, clients reaching them through Proxy Instruments, and every change broadcast to anyone watching. From here:
Python Client: the Python client in depth, the interface you’ll use the most.
The server: launch options, headless operation, and the Detached GUI.
The Parameter Manager: the instrument you just configured, properly introduced.
How it works: what Proxy Instruments and Broadcasts actually are, one level deeper.